Media Wall Acoustics: How to Plan Panels Around Your TV

Acoustic panels on a media wall mainly tame echo and harshness in the room, so dialogue is clearer and the TV sounds fuller. They do not stop sound travelling through the wall to your neighbours. If you want both a good-looking feature wall and a calmer living room, slatted acoustic panels around and behind the TV are one of the simplest ways to get there. Below we cover what they do, where they go, which finishes suit, what to check before drilling and how to fit them.
TL;DR
- Acoustic panels absorb sound and cut echo. Blocking sound through a wall is a separate job, called sound isolation.
- Put panels on the wall behind and beside the TV first, then add more on the opposite wall or ceiling line if the room still rings.
- Fit panels on battens if you can: it adds an air gap that helps absorption and gives you a clean route for cables.
- Check for cables and pipes before you drill, and leave space around the TV and any heat source.
- Order a sample first. Finish and colour look different under your own lighting.
Table of Contents
- What media wall acoustics actually means
- Echo reduction versus soundproofing
- Where to put panels on a media wall
- Choosing panel materials, finishes and layouts
- What to check before you fit anything
- How to fit acoustic panels on a media wall
- Getting the most from your panels
- Ready to start your media wall?
- FAQ
- Sources
What media wall acoustics actually means
A media wall is the feature wall that holds your TV, and often a shelf, a fire or a soundbar. In a typical UK living room that wall is flat, hard and bare plaster, which is exactly what makes a room echo. Sound from the TV bounces off plaster, glass, laminate floors and bare ceilings, and reaches you late and muddy. Voices lose clarity, you turn the volume up, and the room feels louder than it should.
Media wall acoustics is about fixing that with soft or porous surfaces. A panel with a felt or fibre backing, covered with a wood-effect slat finish, takes energy out of the reflections instead of sending it back into the room. The result is a tighter, more focused sound, which is why people with soundbars and home cinema setups often add panels as part of the design rather than as an afterthought.
Echo reduction versus soundproofing
This is the question we hear most, and the answer matters before you spend anything. According to Ideal Home’s expert piece on acoustic wall panels, acoustic panels absorb sound and reduce echo, and sound isolation is what you need to stop sound travelling through walls. The same article notes that panels installed on battens can offer Class A sound absorption and can be an effective part of a wall treatment.
In plain terms:
- Absorption improves the sound inside the room. Less echo, clearer speech, a calmer feel. This is what slatted acoustic panels are for.
- Isolation keeps sound from passing into the next room or home. It generally means adding mass and sealing gaps in the structure of the wall, which is a building job rather than a decorative one.
If your goal is a better-sounding living room, panels on the media wall are the right tool. If your goal is to stop a neighbour hearing your film at 10pm, panels will help the room but you should also look at the wall construction itself, and talk to a builder or acoustic specialist for that part.
Where to put panels on a media wall
There is no single correct layout, but a few principles hold in most rooms.
Behind the TV
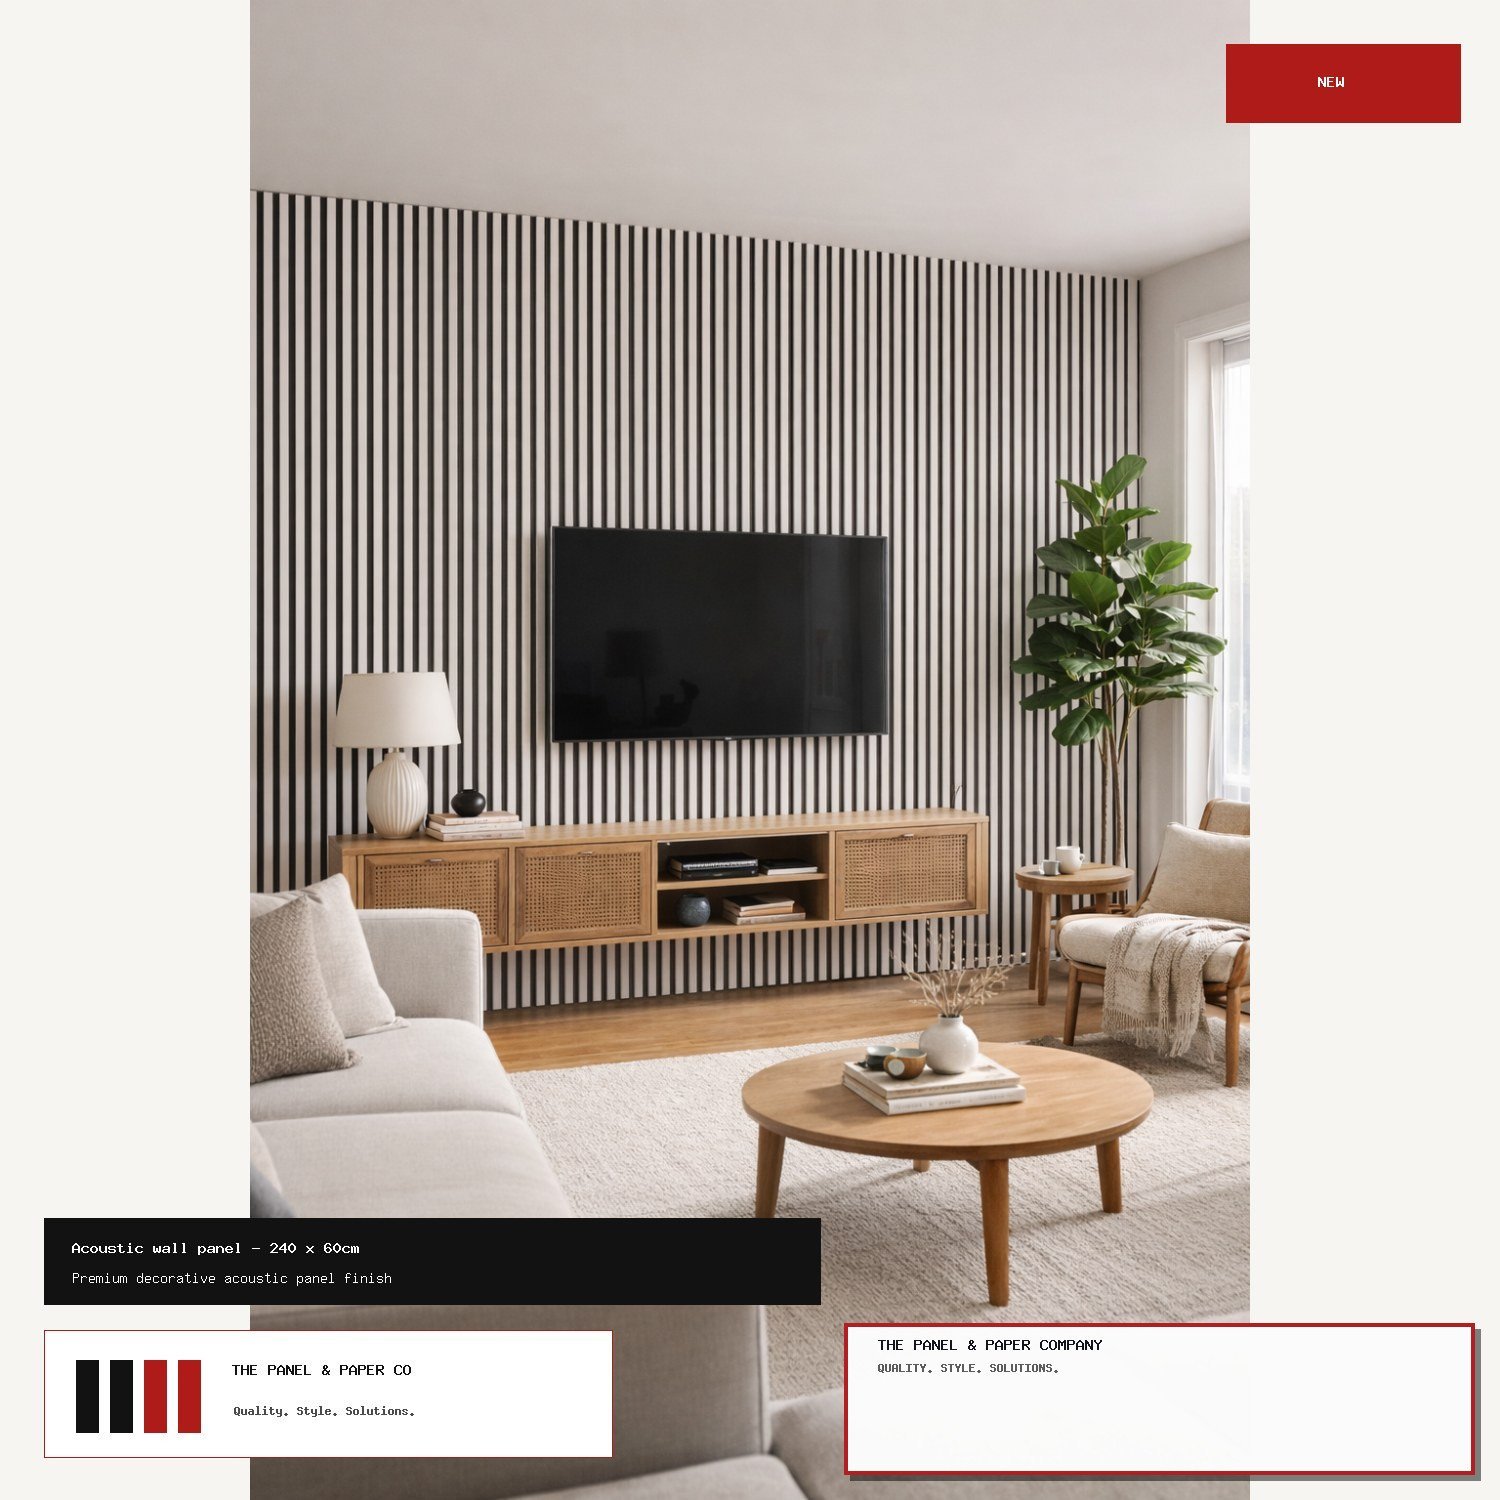
The wall the TV sits on is the first reflection point for the speakers, so treating it makes an immediate difference. Panels behind and around the screen also give you a frame, which is why full-height slat walls look so deliberate. Our panels are 240 x 60cm, so a standard room height is covered by a single panel with no joins to line up. See, for example, the white acoustic wall panel.
Beside the TV
If you are building around alcoves or chimney breasts, run panels into the recesses on either side. Hard returns in alcoves are good at bouncing sound around, so lining them helps more than you might expect.
How much wall to cover
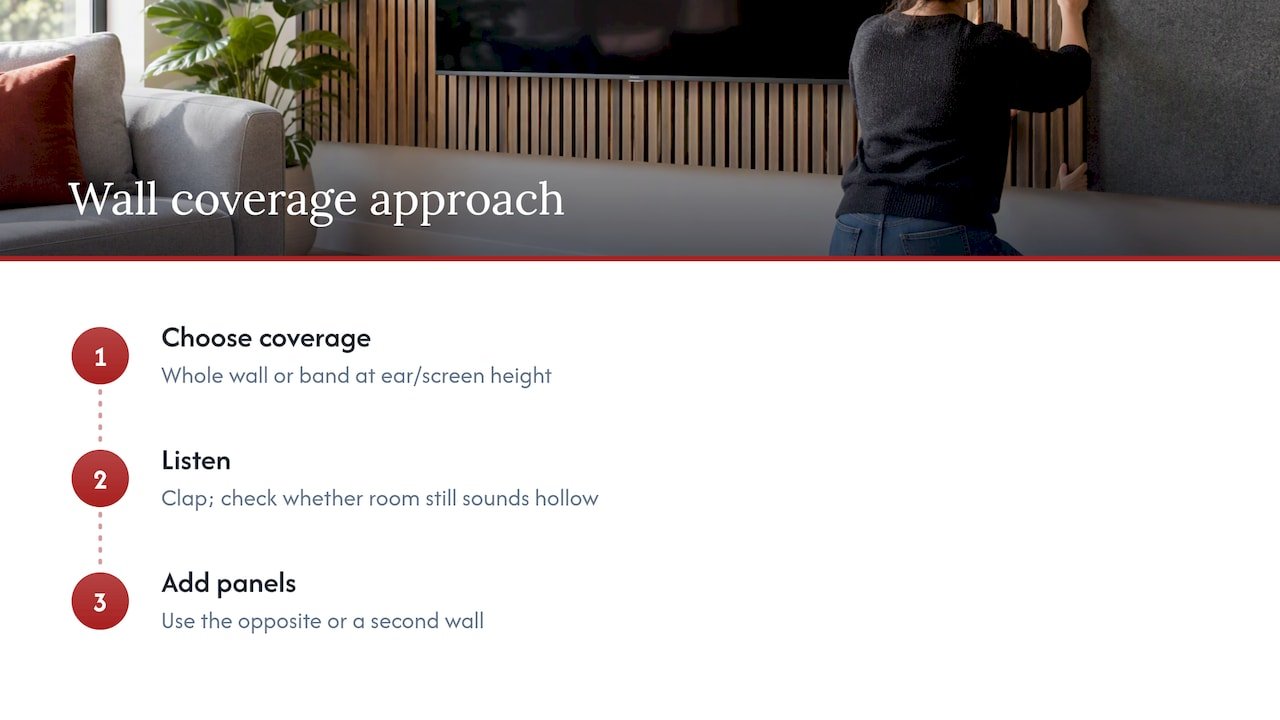
More coverage means more absorption, but you do not need to treat every surface. As a practical starting point, cover the whole TV wall if you want the feature look, or at least a large band at ear and screen height if you want to keep some bare wall. Then listen. If the room still sounds hollow when you clap, add panels to the opposite wall or to a second wall, rather than stacking more on the first.
Mix with soft furnishings
Rugs, curtains, bookshelves and sofas all absorb sound too. A room that already has heavy curtains and a thick rug needs fewer panels than a minimalist space with wood floors and large windows. Think of panels as one layer in the whole room, not the only fix.
Choosing panel materials, finishes and layouts
A media wall is a design statement, so the finish matters as much as the performance. These are the styles we see people choose most often, and what each suits.
| Style | Look | Best for |
|---|---|---|
| Wood-effect slat panels in oak, walnut or black | Warm, textured, modern | Living rooms and cinema rooms |
| Grey slat panels | Calm, neutral | Contemporary flats and rented homes |
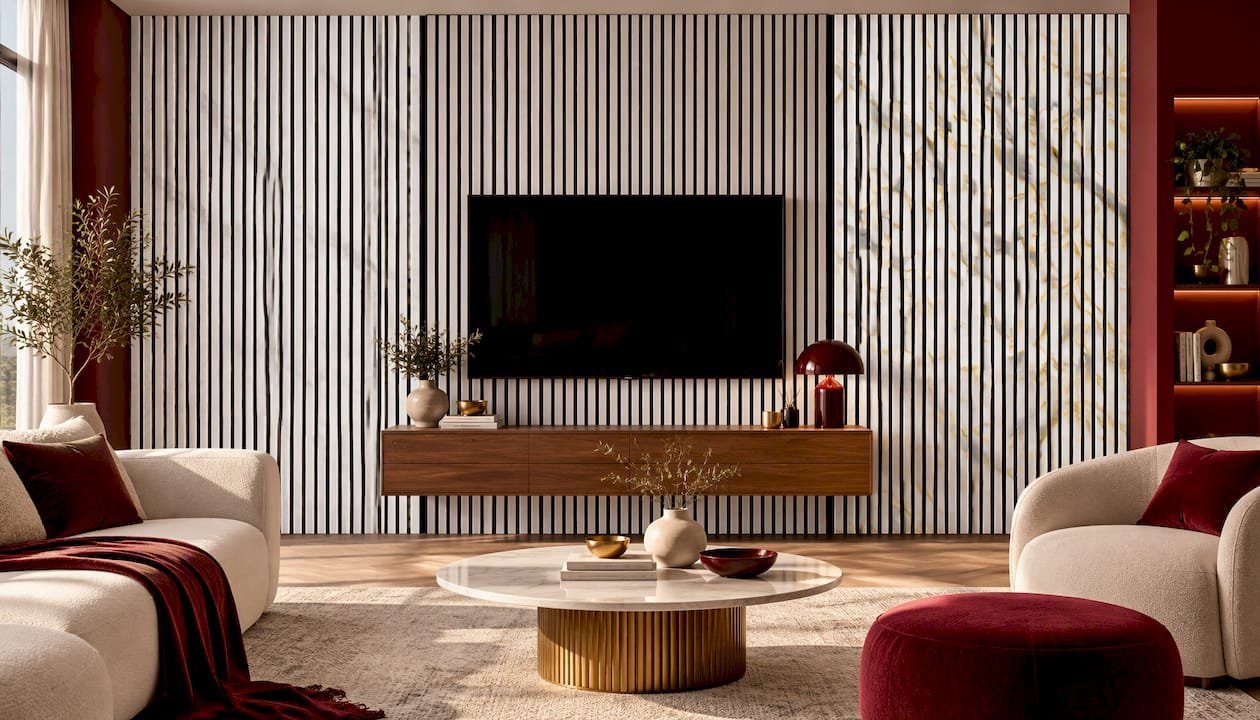
| White and marble-effect panels | Light, clean, upmarket | Smaller or darker rooms |
| Wide slat and flexible wood panels | Bolder shadow lines, can follow curves | Feature walls and curved corners |
Dark or light
Dark finishes such as black oak or dark oak reduce glare and make a TV recede into the wall, which suits a cinema feel. Lighter oak, white and marble finishes keep a smaller room feeling open. If your media wall includes shelving or an LED strip, think about how the colour will pick up the light at night.
Layout ideas
- Full-height slat wall: panels run floor to ceiling across the whole TV wall, with the TV mounted flat on them.
- Framed TV: panels in a darker shade around the TV area, with a lighter wall or plain paint on the rest.
- Panels plus shelves: floating shelves or a fire insert cut into a panelled wall, which is where careful measuring pays off.
- Cinema room: panels on the front and side walls, with darker tones to keep reflections down.
For more layouts to borrow from, our media wall panel ideas guide is a good place to start, and our media wall panels collection shows what is available. If you are treating a cinema room specifically, see our cinema room wall panels.
Order samples first
A photo on a screen never matches a real wall. Wood tones shift under warm bulbs and daylight, and marble effects change with the angle. We sell acoustic wall panel samples from £3.00 per sample, which is a cheap way to check colour and texture before ordering a whole wall.
What to check before you fit anything
Most problems on a media wall come from planning, not from the panels. Walk through this list before you pick up a drill.
- Measure the wall, not just the TV. Note the height, width, any chimney breast, alcoves, light switches and sockets.
- Plan the TV position. Work out where the screen centre will sit when you are seated, then place panels around that, rather than the other way round.
- Decide where the cables will go. Soundbars, consoles and streaming boxes need power and HDMI runs. Fitting battens first gives you a gap to route cables behind the panels.
- Check for hidden services. Before drilling into any wall, use a cable and pipe detector to look for electrical cables and water pipes, and avoid drilling on the line between a socket and a switch. If a socket or spur needs to be moved, that is a job for a qualified electrician.
- Leave ventilation. Do not box a TV, console or amplifier into a tight space. Leave room around heat sources so equipment can breathe, and keep panels clear of fireplaces and heaters unless the product and the fire manufacturer both allow it.
- Choose the right fixing for the wall. Plasterboard, masonry and stud walls take different fixings, and a heavy TV bracket must go into a solid fixing point, not just the panel.
How to fit acoustic panels on a media wall
If you are comfortable with basic DIY, a slat panel wall is a manageable weekend project. This is a general outline; always follow the instructions that come with your panels and fixings.
What you will need
- Tape measure, spirit level and pencil
- Cable and pipe detector
- Saw suitable for the panel material and a dust mask
- Construction adhesive and/or screws and plugs suited to your wall
- Timber battens if you are fitting on a frame
- Safety glasses and gloves
Steps
- Mark out the layout. Draw a level line at the base and a vertical centre line, so panels run straight and the TV sits centrally.
- Scan and prepare the wall. Use the detector, mark any services, and fill or clean the wall surface so it is dry, sound and free of dust.
- Fit battens if you are using them. Space them evenly, check they are level and fix them into solid points. Leave a route for cables.
- Cut panels to size. Measure twice and cut with the finished face up or down depending on the blade, to keep the edge clean. Wear a dust mask and eye protection when cutting.
- Fix the first panel. Start from the centre line or an edge, check it with a level, then fix it. Everything else follows this one, so take your time.
- Continue across the wall. Keep joints tight and consistent, and cut around sockets and switches with care, with the power off at the consumer unit if you are working near them.
- Mount the TV last. Fix the bracket through the panel into a secure fixing point behind it, using the screws recommended for your TV weight and wall type.
- Finish the details. Add trim, LED lighting and accessories, and tidy cables.
If the job involves moving electrics, structural work, or a large wall of heavy panels, hire a competent fitter or electrician rather than improvising.
Our view on media wall acoustics
We built our range around a simple idea: a media wall should look good and sound better, without costing a fortune. Most customers come to us because the room echoes, and a slatted panel does that job while also being the feature that makes the wall.
We like panels in long 240 x 60cm lengths because they cut down on joins and make installation easier for people doing it themselves. We offer wood-effect, grey, white and marble finishes so that the acoustic upgrade can match the rest of the room rather than clash with it.
Our panels start at £22.99 each in our Ultra Low Cost range, with our standard wood-effect panels at £29.99 each. We would rather you could treat a whole wall than only a patch of it. If you are unsure, message us on WhatsApp and we will help you work out a layout. Every panel comes with a one-year warranty.
Tayyy
Getting the most from your panels
Treat the room, not just the wall
If you put panels behind the TV and the room still echoes, look at the reflective surfaces opposite. Bare windows, bare floors and bare ceilings all keep bouncing sound. A rug, curtains and a few panels on a second wall usually finish the job.
Think about sound sources
Soundbars and speakers behave differently on a panelled wall. A soundbar sitting just in front of the slats will sound more focused than one against bare plaster. If you use separate surround speakers, make sure panels do not block their path.
Keep it simple for rentals
If you rent, check your tenancy agreement before fixing anything to the wall. Some tenants use freestanding or removable solutions, and landlord permission is worth asking for in writing.
Plan the budget
Work out how many panels cover your wall, then add a small allowance for cutting waste. With panels at £29.99 each, a wall that takes several is a manageable cost, and our media wall bundles can simplify the choice if you want a ready-made combination.
Ready to start your media wall?
We supply acoustic wall panels for homes and commercial spaces across London and the UK. Our standard acoustic wall panels come in black oak, dark oak, grey, walnut and white oak at £29.99 each. If budget is the priority, our ultra low cost acoustic panels are £22.99 per panel, and our premium wide slat wall panels start from £53.99 per set of 2. Prices were as published on our site when this article was written.
Not sure where to begin? Order a sample, or message us on WhatsApp with your wall measurements and we will help you plan it. You can also see the whole range on our website, or browse panels for living rooms and acoustic panels for media walls.
FAQ
Do acoustic panels behind a TV reduce echo or soundproof the wall?
They reduce echo. Acoustic panels absorb sound inside the room, which improves clarity, but stopping sound passing through a wall needs sound isolation. Panels on battens can be part of a wider wall treatment, but they are not a substitute for a properly built isolating wall.
How many panels do I need for a media wall?
Measure the width and height of the area you want to cover and divide by the panel size, which is 240 x 60cm for our standard panels. Add a little extra for cuts around sockets and shelves. Message us on WhatsApp if you would like a second opinion on your numbers.
Can I fit acoustic panels myself?
Yes, if you are comfortable with basic DIY. You will need to measure carefully, check for hidden cables and pipes before drilling, and fix the TV bracket into a solid fixing point. Anything involving moving sockets or other electrical work should be done by a qualified electrician.
Which finish is best for a living room media wall?
It depends on the room. Dark oak and black oak give a cinema feel and cut glare, while white, white oak and marble effects keep smaller rooms bright. Order a few samples and view them at different times of day before you choose.
Sources
Recommended
- Buy Acoustic Panels for Media Walls
- TV Wall Panels
- Media Wall Panels
- Buy Acoustic Panels for a 3m Media Wall in Barnes
Ready to compare products? Shop waterproof marble wall sheets Shop flexible wood wall panels