PVC Wall Panels in Rotherhithe: Plan a TV Wall With Accessible Cables
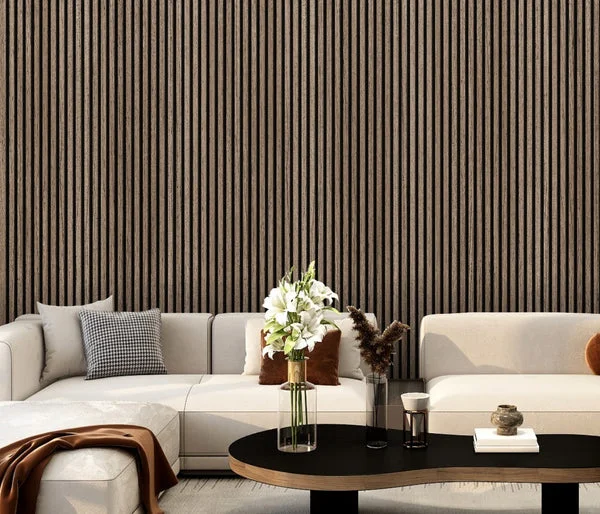
For PVC wall panels in Rotherhithe, a TV feature can begin with a simple drawing of the equipment you own. Where will the screen sit, which devices connect to it, and how will someone reach the connections later? Answering those questions before selecting the decorative surface helps you create a wall that continues to work after the initial photograph.
This guide focuses on room layout and service access. The current decorative range comprises White Oak, Grey, Walnut, Dark Oak and Black, sold at £140 per pack. There are eight panels measuring 240 × 30cm in each pack, representing 5.76m² of nominal material area. Product details, joint geometry and the proposed cutting allowance must be checked before that figure becomes an installed-quantity recommendation.
Draw the television and furniture before the panels
Start with the seating position you normally use. Mark the proposed screen position on a wall plan and view it from that seat. Avoid selecting a screen height solely because it centres neatly on a 240cm panel: comfort, the television’s mounting instructions and the furniture arrangement all matter.
Add the media cabinet at its actual height and width. Record equipment dimensions for consoles, receivers or other devices you intend to keep there. Check the ventilation space specified by their manufacturers, including any space required at the rear. A decorative design should accommodate those requirements rather than hiding them inside a tightly fitted box.
Now sketch the feature width around those objects. A full-width wall and a narrower rectangle behind the television create different panel joints, exposed sides and material needs. Decide which is intended before asking for an order quantity. If the room has more than one possible furniture arrangement, test both on paper so that the wall does not force an awkward seating position.
Separate the screen support from its visual background
A wall bracket needs an appropriate structural support and fixing design. Do not assume the panel face can carry a television or that a decorative product includes a suitable mounting substrate. The responsible installer should identify the wall construction, select compatible fixings and follow the bracket’s weight rating and installation requirements.
Record where the bracket attaches and how the panel layout relates to it. If a spacer, backing structure or other component is specified, its depth becomes part of the finished assembly. This can affect cable bends, the screen’s clearance and the appearance from the side. Resolve the complete arrangement before cutting holes into the finish.
The same distinction applies to shelves and soundbars. List each mounted item with its support requirements. A neat row of accessories does not establish that the decorative material itself is a load-bearing component.
A connection map keeps the important details visible
| Connection or component | Decision to record |
|---|---|
| Power sockets | Location, access and any alteration requiring a qualified electrician. |
| Data cables | Starting point, destination and how a replacement will be routed. |
| Equipment behind the screen | Required clearance and a practical way to reach it. |
| Cabinet cable entry | Its relationship to the wall outlet and device positions. |
| Removable section | How it opens without damaging adjoining panels or trapping a cable. |
Draw the cable route for each connection instead of using one arrow labelled cables. Ask the electrician or responsible installer to specify safe routes and separation where relevant. Do not bury a connection that must remain accessible or assume a recessed box can be inserted into any wall. Future maintenance is part of the initial design brief.
Work out the panel grid around the chosen feature
Imagine a rectangular TV feature 2.70m wide with a ceiling height of 2.30m. The front area is 6.21m², which exceeds the nominal material in one pack. For a provisional layout using vertical panels at a confirmed fitted width of 0.30m, the panel grid has nine columns.
Nine full-height lengths require two packs because the products are supplied in complete sets of eight. The supply cost for those two panel packs is £280. There would be sixteen pieces purchased, with nine allocated to the main rectangle before allowances or other surfaces are considered. The seven remaining pieces are part of the purchased material; they do not reduce the checkout price of the two packs.
This calculation deliberately distinguishes the nominal panel width from fitted coverage. If the actual usable width is smaller, nine columns will no longer span 2.70m. Verify the selected joint first and recalculate. A side return, an exposed end treatment or a change to feature width also creates a different material requirement.
Keep the screen centre marked while refining the grid. It may look better to distribute the first and last cut symmetrically, but that is a layout decision for the actual product. Ask for a cutting schedule that accounts for it rather than expecting the installer to improvise from an area total.
Choose a finish with the screen both on and off
TV wall panels are visible during viewing, but also when the television is simply a dark object in the room. Compare the colour selection in both states. Consider the relationship with cabinet fronts, nearby shelves and the surrounding paint instead of assuming that the darkest option is always the most suitable.
The Black PVC listing and Dark Oak pack provide two different darker starting points. For a different balance, examine White Oak, Grey or Walnut in the complete PVC range. Use the actual product photographs and ask about a matching sample if needed for finish approval.
The decorative range should not be assumed to provide an acoustic treatment. Nor does this guide establish fire classification, suitability beside heat-producing equipment or any other technical performance. Request product-specific evidence where the project needs it and give the installer the relevant equipment instructions.
Check the wall and any property restrictions
Inspect the surface condition before agreeing the fixing method. Existing plaster, previous coatings and any signs of damp need assessment where they could affect the proposed installation. Covering an uncertain surface does not resolve the underlying issue. Request the current fitting guidance for the supplied panel and the identified substrate.
If the property is rented or held under a lease, check the relevant lease conditions and permissions for the work. Southwark’s list of conservation areas includes St Mary’s Rotherhithe and Edward III’s Rotherhithe as distinct areas. This does not place every local home under the same restriction. Confirm the position for the exact building if protected features may be affected.
Common questions about the finished TV wall
Can the wall sockets just be covered?
Access requirements must be settled with a qualified electrician. Identify every socket and connection on the plan and specify any alteration before the decorative work begins. Concealing a fitting for appearance alone is not an installation plan.
Can I leave room for a larger television?
You can record a future screen size as a design scenario. Check its likely outline against the feature width, support arrangement and accessible connection points. Do not assume an existing bracket or concealed fixing will suit a heavier replacement.
What should accompany my delivery enquiry?
Send the chosen product link, colour, measured elevation, provisional pack calculation and full postcode. Add the planned installation date as a request for discussion, not an assumed delivery commitment. Ask for current availability and charges before arranging the work.
Your final installation brief should unite the bracket specification, connection map and cutting layout with the selected finish. Keep the approved version with the order confirmation. For a broader comparison of decorative materials, the PVC panel overview provides the next step.