Start with a ceiling cloud, then corners: UK home acoustic treatment
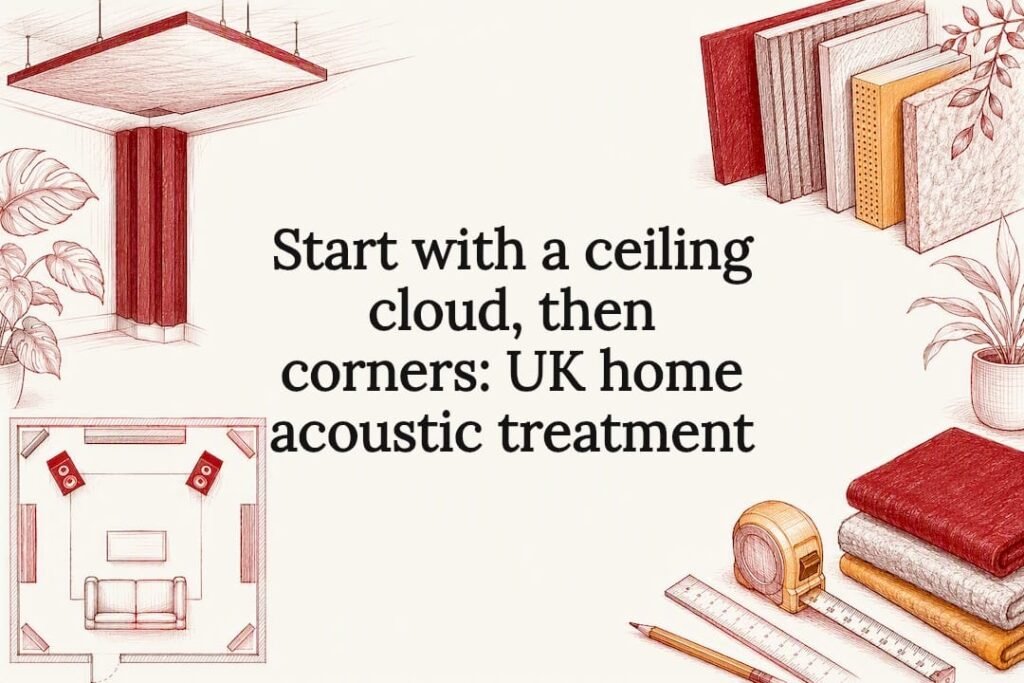
Corner bass traps and absorption at your first-reflection points beat everything else you could buy, including expensive monitors, in an untreated room. The minimum kit that actually moves the needle is a ceiling cloud (or a suspended panel over the listening position), four corner bass traps, and three panels at the mirror points on your side walls. Expect tighter imaging, less boominess, and a flatter response you can confirm with Room EQ Wizard for a few hundred pounds.
TL;DR:
- Corner bass traps and ceiling clouds provide the most effective treatment at a modest cost, outperforming expensive monitors in untreated rooms.
- Mineral wool panels with sufficient thickness and an air gap reach lower frequencies and outperform foam panels, which mainly absorb mid and high frequencies.
- Proper placement of panels at first-reflection points and in corners is crucial, with measurement tools like Room EQ Wizard helping validate improvements.
- DIY acoustic treatment can cost between £150 and £400, using simple materials like stacked rockwool or heavy rugs, and should prioritize corners and ceiling clouds first.
- Regular maintenance, including dust removal and checking fixings, preserves panel efficacy over years, with mineral wool panels resisting degradation better than foam.
Table of Contents
- What home acoustic treatment actually does
- Absorption, diffusion, and bass traps: what each one actually fixes
- Where to put your panels first
- Realistic DIY builds and where corners get cut
- Material specs that actually matter
- Proving it worked: measurement without guesswork
- Fixing panels properly without wrecking your walls
- Listening back and knowing when you’re done
- Keeping your panels working for years, not months
- The gap between studio theory and what actually works at home
- Matching our panels to your treatment plan
- Sources
- FAQ
What home acoustic treatment actually does
Acoustic treatment changes how sound behaves once it leaves your speakers and bounces around the room. Soundproofing stops sound getting in or out through walls, floors, and windows. They solve different problems, and confusing the two is the single most expensive mistake beginners make, buying dense soundproofing foam when what they needed was a mineral wool panel in the corner.
The listening goal isn’t silence. It’s predictability. A treated room lets you trust what you hear, so a mix you make at home translates properly on other systems, and a hi-fi setup sounds the way the recording engineer intended.
That predictability gets measured through RT60, the time it takes a sound to decay by 60 decibels after it stops. Untreated living rooms often sit around 0.8 to 1.2 seconds. A well-treated home studio or listening room typically lands nearer 0.3 to 0.4 seconds, which is where mixes stop lying to you and speech stops smearing.
Getting there usually means:
- Absorbing the loudest early reflections off side walls and ceiling
- Trapping bass energy where it piles up, in room corners
- Adding controlled diffusion in larger rooms to avoid a dead, lifeless sound
Suppliers like Thepanelandpapercompany build panels specifically around this brief: enough absorption to matter, in finishes that don’t make a lounge look like a recording booth.
Absorption, diffusion, and bass traps: what each one actually fixes
Absorption soaks up high and mid-frequency reflections that cause flutter echo and smear transients. That’s the “boxy” or “bright and harsh” character you hear in an untreated room. Foam panels absorb well above 500Hz but do very little below that. Mineral wool, at sufficient thickness and density, absorbs across a much wider band, including some low-mid content foam simply can’t touch, which is why reviews of consumer acoustic panels consistently flag foam’s weak low-frequency performance next to mineral-wool alternatives.
Bass traps deal with the room modes that build up in corners, where low frequencies reinforce each other and cause boominess or dead spots depending on where you’re standing. Corner placement matters more than almost anything else in this list. A trap flush against a flat wall does far less than the same trap angled or stacked into a vertical corner.
Diffusion scatters sound rather than absorbing it, keeping a room lively instead of dead. It earns its place on rear walls in bigger rooms, but a small bedroom studio rarely has the floor space to justify it before absorption and bass trapping are sorted.
Practical rules for home rooms:
- Corners first, always, before anything on a flat wall
- Don’t over-absorb a small room into dullness, leave some reflective surface
- Skip diffusion until absorption and bass trapping are handled
Pro Tip: Pull bass traps off the wall wherever you can. An air gap behind a panel extends its low-frequency reach for free, with no extra material cost.
Where to put your panels first
Budget and effort should follow one order, not scattered guesswork:
- Ceiling cloud — a panel suspended above the mixing or listening position, ideally with a 100mm air gap. This one piece often delivers the single largest perceptual improvement in a small room, because it controls the ceiling’s strong early reflection while also soaking up a surprising amount of low-mid energy.
- Corner bass traps — all four vertical corners if the budget allows, or at minimum the two corners behind your speakers.
- First-reflection panels on the side walls and ceiling, at the points where a mirror held flush to the wall would show you your speaker.
- Rear wall treatment, absorption or diffusion, once the first three are done.
Finding first-reflection points is simple: sit in your listening position, get someone to slide a mirror along the side wall, and mark every spot where you can see the speaker reflected. That’s where the panel goes.
Take a typical 3.0 x 4.0 x 2.5m room as a worked example. You’d want roughly four to six square metres of absorption split between the ceiling cloud, two rear corner traps, and two side-wall reflection panels, which matches the bill of materials used in budgeted home studio builds. It’s also worth placing your mixing position and speakers on rough thirds of the room’s length rather than dead centre. Sound on Sound’s beginner guide explains this reduces the chance your setup lines up exactly with a standing wave.
Realistic DIY builds and where corners get cut
A minimum viable kit covering four corner bass traps and three first-reflection panels can be built for roughly £150 to £400 in DIY materials, and that spend regularly outperforms an untreated room with far more expensive monitors.
Sensible budget shortcuts that genuinely work:
- Stacking two or three layers of rockwool slab in corners instead of buying pre-made traps
- A thick rug over hard flooring to knock down flutter echo
- Heavy, packed bookcases against a rear wall, which behave like crude diffusers
What doesn’t work as well as people hope: thin foam tiles stuck straight to a wall with nothing behind them. They tame harshness but leave bass problems completely untouched, which is exactly the gap consumer panel reviews keep flagging.
A full room treated properly with ceiling cloud, all four corners, and reflection points tends to land around £273 in materials and under £400 total for a modest DIY build. Once you’re past the DIY stage, professionally finished panels or a custom-built frame make sense for finish quality and durability.
If you’re cutting your own mineral wool, wear a mask, gloves, and long sleeves. Rockwool fibres irritate skin and airways, so cut it outdoors or in a well-ventilated space and vacuum up afterwards rather than sweeping.
Material specs that actually matter
Thickness and density decide whether a panel does anything below 500Hz. A 50mm foam panel handles flutter echo but ignores bass. A 100mm mineral wool panel at 40 to 60kg/m³ density, especially with an air gap behind it, reaches meaningfully lower into the bass register.
When reading a spec sheet:
- NRC (Noise Reduction Coefficient) tells you average absorption across mid and high frequencies, not bass performance
- A high NRC on a thin foam tile still won’t fix a boomy corner
- Mineral-wool panels properly framed and fabric-wrapped give the best broadband and low-frequency performance for the money in a home setting
For safety, buy mineral wool rated to the relevant fire classification for your intended use, wear PPE when cutting, and check the product’s off-gassing and irritant information before fitting it in a bedroom or nursery. An air gap of 50 to 100mm behind a panel is one of the cheapest upgrades available, since it improves low-frequency absorption without buying more material.
Proving it worked: measurement without guesswork
You don’t need golden ears to know if treatment worked. You need two pieces of kit and a repeatable process:
- Download Room EQ Wizard (REW), which is free, and pair it with a calibrated USB measurement mic such as the miniDSP UMIK-1.
- Take a baseline measurement in your untreated room before fitting anything.
- Add one element, the ceiling cloud or a single corner trap, and re-measure from the exact same listening position.
- Compare the frequency response and waterfall decay plots. A genuine improvement shows as smoother peaks and dips and faster decay in the low end.
If a full measurement rig feels like overkill for now, headphone calibration software is a reasonable stand-in for checking mix translation, though it tells you nothing about your room’s actual bass modes.
Fixing panels properly without wrecking your walls
Mark equally spaced fixing points with a spirit level and tape measure before you drill anything, and get a second pair of hands for anything wider than a metre. Spray adhesive alone is unreliable on mineral wool over time, especially in humid rooms, so pair it with mechanical brackets or French cleats wherever the panel carries real weight.
Ceiling clouds need a proper safety check: rated hooks or eyelets into joists, not just plasterboard fixings, and a visual inspection every few months. If you’re renting, reversible mounting options using removable strips or freestanding frames avoid drilling altogether.
- Space panels evenly using a measured grid, not by eye
- Match fixings to panel weight, brackets for anything substantial, adhesive strips only for lightweight pieces
- Fabric-wrap visible panels so they read as interior features rather than studio kit
For a full walkthrough of layout and fixing choices, Thepanelandpapercompany’s installation guide covers the practical steps in more detail.
Listening back and knowing when you’re done
Trust your ears alongside the measurements. Signs treatment has worked: instruments sit in a clearer, more stable position in the stereo image, boominess in the low end eases off, and vocals or mids stop sounding smeared.
If something still feels off, try small moves before buying more material: nudge a corner trap a few centimetres, offset a reflection panel slightly, or swap which corner carries the thicker trap. Use your REW measurements to decide where the next pound actually goes, rather than adding treatment evenly across the whole room. Keep a simple log of before-and-after plots. It turns future upgrades from guesswork into a shopping list.
Keeping your panels working for years, not months
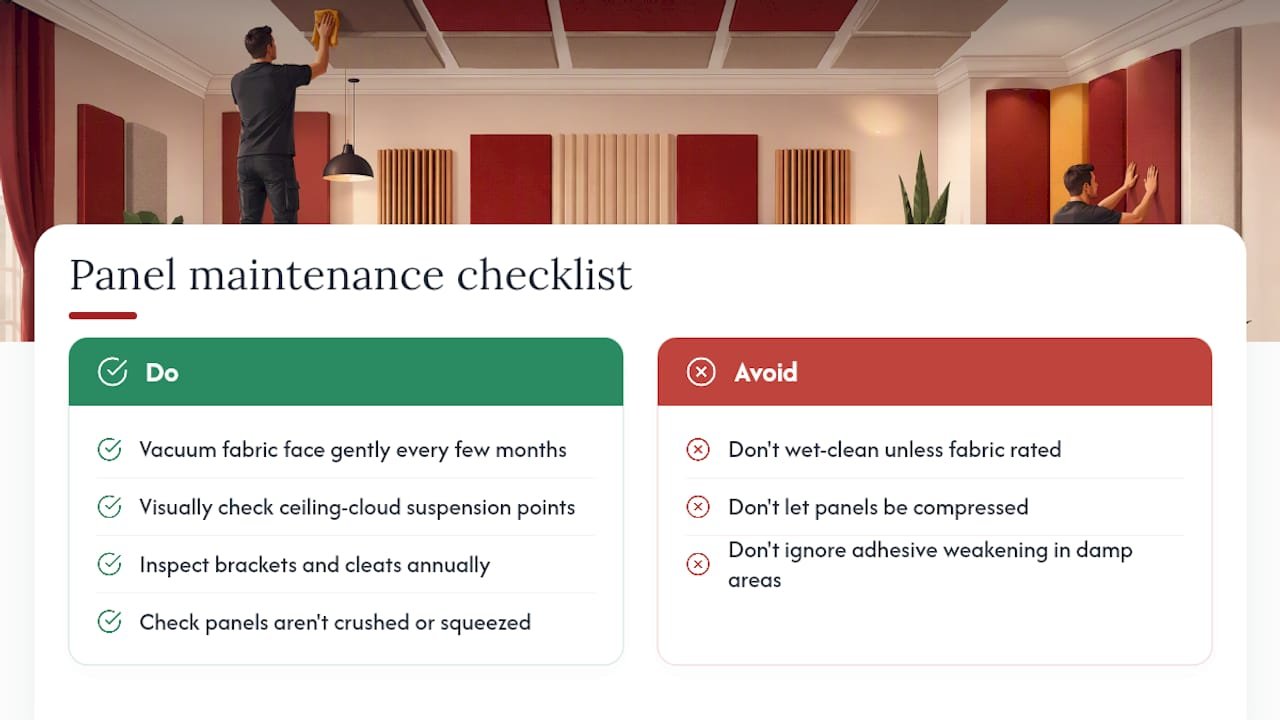
Acoustic performance degrades if panels get compressed, damp, or clogged with dust, so a bit of upkeep protects your investment. Mineral wool loses some absorptive capacity if it’s crushed flat inside a frame, so check fixings haven’t sagged or squeezed the material over time.
Dust is the main long-term enemy in a home setting. A soft brush attachment on a vacuum, run gently over the fabric face every few months, stops buildup that would otherwise mute the panel’s absorption at higher frequencies. Avoid wet cleaning fabric-wrapped panels unless the fabric is specifically rated for it, since damp mineral wool can lose structure and, in bad cases, develop mould.
Fixings deserve the same attention as the panels themselves. Check brackets, cleats, or adhesive strips annually, particularly in bathrooms, kitchens, or anywhere humidity swings seasonally, since adhesive bonds weaken faster in damp air than most people expect. Ceiling clouds need the closest watch: a visual check of the suspension points every few months catches sag or wear before it becomes a safety issue rather than a cosmetic one.
Well-built panels, properly framed and fixed, hold their acoustic performance for years with minimal intervention. The materials themselves, mineral wool inside a rigid frame, don’t degrade acoustically the way foam does, since foam can compress and lose density over time in a way dense mineral wool generally resists.
The gap between studio theory and what actually works at home
Most acoustic treatment advice online is written for people building a dedicated studio from scratch, with unlimited wall space and no partner objecting to grey foam everywhere. That’s not the reality for most home enthusiasts, and treating it as if it were leads to overspending on the wrong things and underspending on the ones that matter.
What gets consistently underrated is the ceiling cloud. It’s the least glamorous purchase on the list and the one people skip first when trimming a budget, yet it’s usually where the biggest single jump in clarity comes from. Corners get treated because every guide mentions them; the ceiling gets ignored because it’s harder to picture and awkward to fit.
Thepanelandpapercompany’s own experience fitting panels across London homes and studios points the same way: readers who ask about aesthetics first and acoustics second nearly always end up happier when they’re steered towards mineral-wool panels in proper finishes rather than the cheapest foam squares available. Buying once, buying correctly, and measuring the result beats buying twice.
— Tayyy
Matching our panels to your treatment plan
Once you know your priority order, ceiling cloud, corners, then reflection points, matching it to actual products is straightforward. For first-reflection panels on side walls, the White Acoustic Wall Panel – 240 x 60cm covers a good stretch of wall in one piece, useful where you’ve marked mirror points close together.
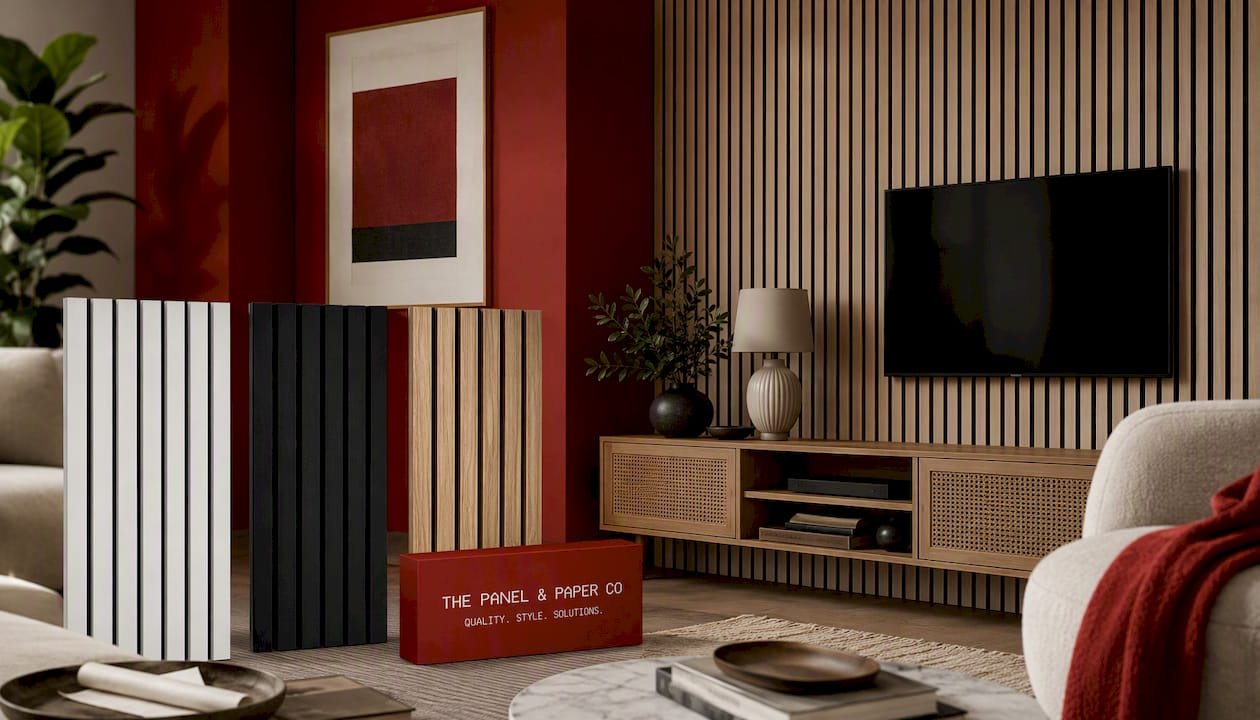
If you’re building a minimum viable kit on a tight budget, the Ultra Low Cost Black Acoustic Wall Panel works well for corner bass trapping without blowing the whole spend on one wall. Want a warmer finish for a living room double as a listening space? The Ultra Low Cost Natural Oak Acoustic Wall Panel gives you that wood look while still doing real absorption work, not just decoration.
There are practical alternatives to building custom frames from scratch: premium panels at competitive prices, in finishes that don’t scream “studio,” sometimes backed by a warranty. Before committing to a full room, order a few samples and hold them against your walls, or browse the full acoustic panel range to compare finishes side by side. Got a quick question about which panel suits your room? Message the team on WhatsApp and get a straight answer before you order.
Sources
- A Beginner’s Guide To Acoustic Treatment — Sound on Sound
- Musicproductionwiki
- AcousPlan™ — How to acoustically treat a home studio for under £500
- The Best Acoustic Panels of 2026 for Sound Dampening — Rolling Stone
FAQ
What is the best acoustic treatment for a home studio?
The best starting kit combines a ceiling cloud, four corner bass traps, and absorption panels at your first-reflection points. This combination outperforms far more expensive monitors in an otherwise untreated room, because it fixes the reflections and bass buildup that distort what you hear.
How much does acoustic room treatment cost?
A minimum viable DIY kit typically runs £150 to £400, while a fully treated typical room can be built for around £273 in materials, under £400 total. Panel prices from Thepanelandpapercompany start at £22.99 for ultra low cost panels and £29.99 for standard acoustic wall panels.
How can I make my own acoustic room treatment?
Build rockwool slabs into a simple timber frame, wrap the front in acoustic fabric, and mount with an air gap of 50 to 100mm behind the panel for better low-frequency performance. Corner placement for bass traps and mirror-point placement for reflection panels matter more than the frame itself.
Does acoustic foam really work?
Foam absorbs mid and high frequencies well but does very little for bass, which is consistently flagged in consumer panel reviews as its main limitation next to mineral wool. It’s a reasonable fix for flutter echo and harshness, but it won’t solve boomy corners on its own.
How do I know if my acoustic treatment is actually working?
Measure before and after with Room EQ Wizard and a calibrated mic, checking for smoother frequency response and faster decay on the waterfall plot. Listening cues matter too: clearer imaging, less boominess, and steadier mids and highs all signal genuine improvement.
Recommended
- Are Acoustic Wall Panels Good for Bedrooms?
- Acoustic Wall Panels Hertfordshire: Home Office Guide
- Do Acoustic Panels Soundproof a Room? UK Guide
Ready to compare products? Shop waterproof marble wall sheets Shop acoustic wall panels