6–12 Panels to Start: Acoustic Panel Placement for DIYers
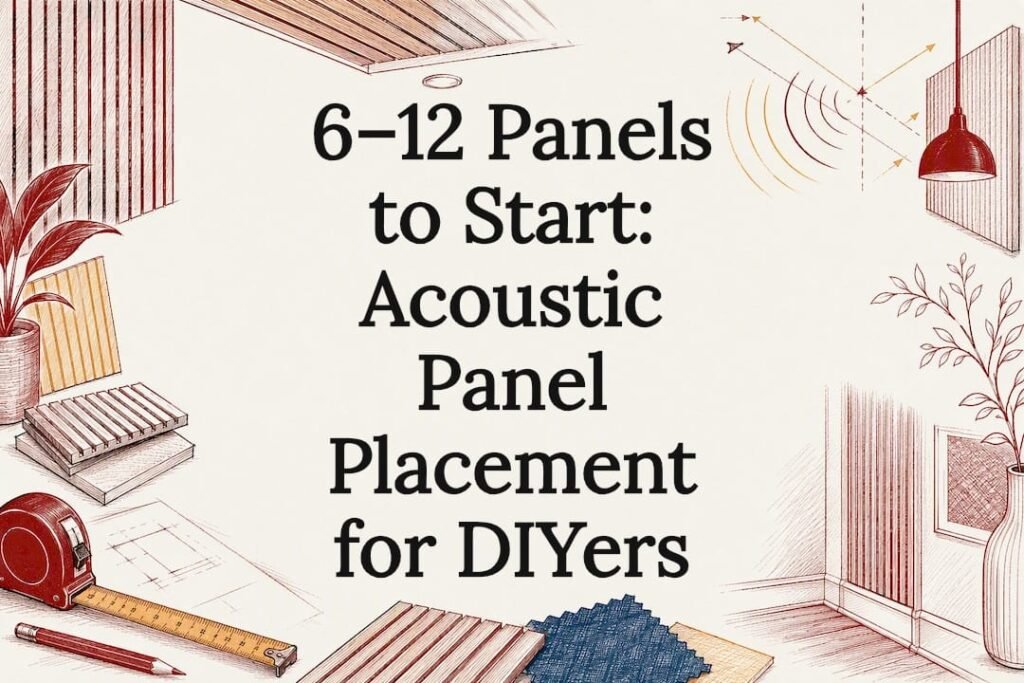
For most rooms, target the first reflection points on your side walls, treat the ceiling above the listening or seating area, and add corner treatment to control bass build-up. Aim for moderate wall coverage, with panel centres around ear height, roughly 1.2 to 1.8 metres from the floor. A home office prioritizes speech clarity, while a home cinema needs wider reflection control across both side walls.
TL;DR:
- Scattering panels across wider wall areas improves reflection control better than clustering in one spot, enhancing speech clarity and reducing muddiness.
- Corner treatment is essential for bass absorption, especially in rooms with hard floors or high ceilings, where low-frequency build-up occurs.
- Use the mirror and clap tests to identify accurate reflection points, ensuring panels are placed at ear height between 1.2 and 1.8 meters from the floor.
- Covering 15% of wall area provides noticeable clarity improvements in small rooms, while larger spaces may require 18 or more panels for effective treatment.
- Panels tailored for specific rooms, like the White Acoustic Wall Panel or marble design options, facilitate targeted correction, with samples available for final testing.
Table of Contents
- Core placement principles and why they matter
- Room-by-room placement checklists
- How to find and test your panel positions
- How many panels you actually need
- Installation considerations and common fixing options
- Common mistakes that reduce effectiveness
- Where our panels fit into this advice
- When acoustic panels are the right first step, and when they’re not
- How The Panel & Paper Company can help you place panels with confidence
- Sources
- FAQ
Core placement principles and why they matter
Sound doesn’t just travel from the source to your ears. It bounces off nearby surfaces first, arriving a fraction of a second later and smearing the direct signal. These are first reflections, and they’re the single biggest reason a room sounds muddy or harsh even when the speakers or voices are perfectly clear. Absorbing them at the point of reflection, not randomly around the room, does most of the acoustic work.
Spreading panels across more of a wall’s edge area tends to outperform one dense cluster in the middle, because a scattered layout intercepts more distinct reflection paths rather than absorbing one path very thoroughly. This is backed by placement research from Walls and Floors, which found that correctly targeted panels can noticeably sharpen speech and music clarity compared with decorative or random hanging.
Walls generally take priority over ceilings for early reflections in a seated listening position, but ceilings matter more in rooms with hard floors, high ceilings or overhead lighting that bounces sound back down. Corners deserve separate attention: bass frequencies build up in room corners because of how low-frequency waves interact with boundary surfaces, and standard flat panels don’t absorb much below around 250 Hz. Thicker corner panels or dedicated bass traps handle this better than flat wall panels alone.
Orientation, vertical or horizontal, matters less than most people assume. What counts more is edge exposure: a panel with more perimeter exposed to open air absorbs more effectively than the same panel pushed flush into a corner or butted against another panel.
- First reflections cause smearing and loss of clarity, not just echo.
- Scattered panels usually beat one large block for the same total area.
- Bass problems concentrate in corners and need thicker treatment.
- Ceiling treatment matters most with hard floors or high ceilings.
Pro Tip: If you can only afford to treat one area first, choose the wall you face when speaking or listening, not the one behind you.
Room-by-room placement checklists
Different rooms have different jobs, so the same coverage percentage in a bedroom and a home cinema will produce different results. Use these checklists as a starting point before fine-tuning with testing.
- Living room: treat the side walls level with your main seating, add a ceiling panel above the sofa if the ceiling is hard or high, treat part of the rear wall behind the TV or speakers, and let rugs and curtains handle the rest. The living room panel guide has layout examples for common sofa and TV arrangements.
- Home office: panels behind your desk chair and on the wall you face during calls do the most for speech clarity, and any glass or window nearby should get a panel opposite it to stop harsh reflections during video calls. Mid-frequency absorption matters more here than bass control.
- Bedroom: a panel behind the headboard and one on the opposite wall covers the two biggest reflection paths, and because bedrooms already have soft furnishings, modest coverage is usually enough. The bedroom suitability guide covers finish options that suit a sleeping space.
- Home cinema: use the mirror method on both side walls to find speaker reflection points, treat those points first, then add a rear wall panel and ceiling treatment above the main listening row for the clearest dialogue and effects.
- Open-plan spaces: rather than concentrating panels in one zone, distribute treatment across each functional area and prioritise the largest hard, flat surfaces such as glazed walls, kitchen splashbacks or exposed concrete, since these reflect the most sound energy.
How to find and test your panel positions
Guessing at panel placement wastes both money and wall space. Two simple tests, the mirror method and the clap test, let you find reflection points with reasonable accuracy in under half an hour, a method Walls and Floors also recommends as a starting point before buying panels.
- Sit in your usual listening or working position and have someone slide a mirror along the side wall.
- Mark every point where you can see a speaker, screen or your own reflection in the mirror, since sound reflects off that same spot.
- Repeat on the opposite wall and the ceiling if your setup is height-sensitive.
- Clap sharply in the centre of the room and listen for a fluttery, metallic echo, which flags untreated flat parallel surfaces.
- Move a panel (or a large cushion as a stand-in) to the suspected reflection point and clap again, comparing the change.
- Mark final panel centres at ear height, between 1.2 and 1.8 metres from the floor, and measure consistently across all walls.
For anything beyond a single room, or if flutter echo persists after basic treatment, a professional acoustic assessment is worth the cost before buying more panels than you need.
How many panels you actually need
Coverage percentage is the simplest way to size a project: 15% of your wall area suits light speech and video-call clarity, while 30% suits music rooms, home cinemas or anyone dealing with a genuinely echoey space, a range consistent with the guidance from Walls and Floors.
- Small rooms (bedrooms, small offices) typically need 6 to 12 panels.
- Medium rooms (living rooms, larger offices) typically need 12 to 18 panels.
- Large rooms (open-plan spaces, home cinemas) typically need 18 or more panels.
- Space panels with visible gaps rather than butting them edge to edge, which increases the exposed edge area doing the absorbing.
- Odd numbers of panels in a row or grid tend to look more deliberate than even numbers.
The panel quantity calculator does this math for irregular rooms and mixed panel sizes.
Installation considerations and common fixing options
Getting the acoustic layout right matters less if the fixing fails. Match the fixing method to the wall type, following the same substrate-first approach recommended in D G Floors’ install guide: check the wall, plan the layout, then fix.
- Plasterboard: use plasterboard wall anchors or find the stud behind for a stronger hold with lightweight panels.
- Masonry: drill and plug with appropriately rated screws, since masonry can take heavier panels without anchors.
- Stud walls: screw cleats directly into the studs where possible rather than relying on the plasterboard skin alone.
- Ceilings: check for joists first, keep clear of any suspended ceiling grid, and always confirm the panel weight suits the fixing before mounting overhead.
- Adhesive, French cleat, picture rail or Velcro strips each work, but adhesive suits permanent lightweight panels, French cleats suit heavier or removable panels, and Velcro suits renters who need a damage-free option.
Pro Tip: Once mounted, repeat the clap test in the same spots you tested before installing, panels sometimes shift the reflection pattern slightly once they’re actually on the wall.
Common mistakes that reduce effectiveness
Panels placed for looks rather than acoustics rarely perform as well as expected, even at high coverage percentages.
- Hanging panels purely for symmetry instead of targeting mirror-method or clap-test reflection points.
- Clustering all panels in one spot while leaving an obvious flutter echo path untreated elsewhere.
- Mounting panels too high or too low, well outside the 1.2 to 1.8 metre ear-height band.
- Treating panels behind the listener when the reflection actually happens in front or to the side.
- Expecting panels to block noise from neighbours or traffic: they improve clarity inside the room, they don’t stop sound passing through walls.
Where our panels fit into this advice
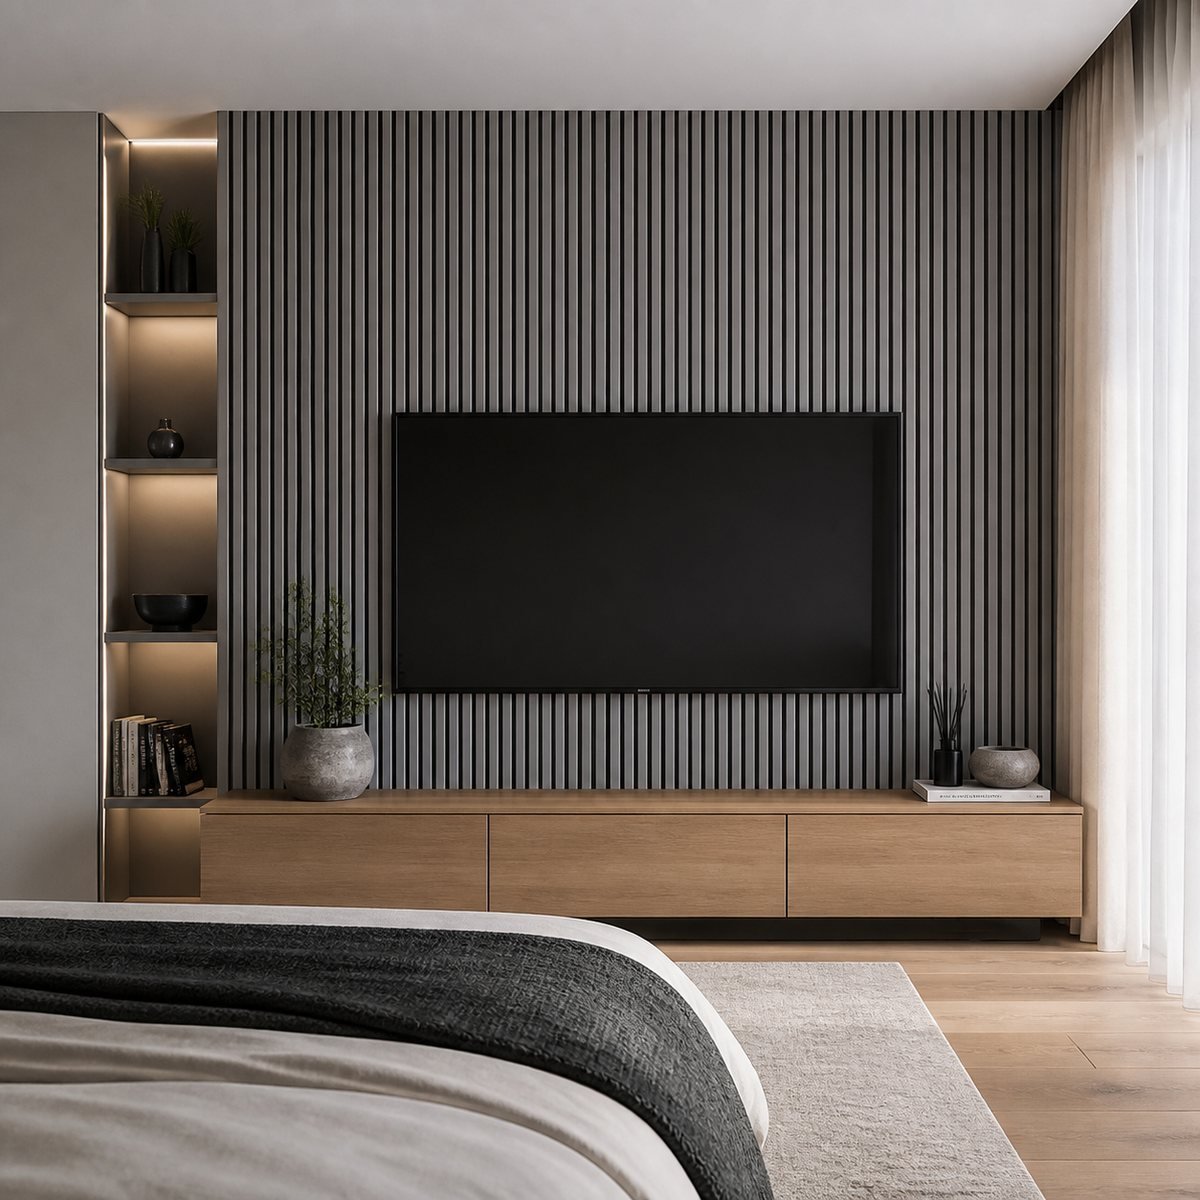
Some acoustic wall panels are built around exactly this kind of targeted placement. The White Acoustic Wall Panel, 240 by 60 centimetres suits feature walls and side-wall reflection points in living rooms and offices, while the Gold and White Marble Acoustic Wall Panel, 240 by 60 centimetres works well where the panel itself is a design feature, such as a rear cinema wall. For budget-conscious rooms, the Ultra Low Cost Light Grey Acoustic Wall Panel covers bedrooms and small offices without pushing up the total spend. Every order comes with a one-year warranty, and the team answers placement questions directly over WhatsApp rather than through a long support queue.
When acoustic panels are the right first step, and when they’re not
Panels are the right tool when the goal is clarity: less echo, sharper speech, better music detail within the room. They do very little against noise coming from neighbours, traffic or shared walls, which is a structural soundproofing problem, not an acoustic treatment one. For most homes, a combination of panels, rugs, curtains and even a well-placed bookcase solves the majority of everyday sound complaints. Before buying, ask yourself three questions: is the problem clarity inside the room, noise from outside it, or bass that won’t settle down? The answer decides whether panels alone will fix it.
— Tayyy
How The Panel & Paper Company can help you place panels with confidence
Choosing the right panel is easier once you know where it’s going. Some suppliers offer competitively priced panels across several finishes, so whichever room you’re treating, there’s likely a style that fits the budget and the brief.

- The White Acoustic Wall Panel, 240 by 60 centimetres suits feature walls, side reflection points and general living spaces.
- The Gold and White Marble Acoustic Wall Panel, 240 by 60 centimetres works well as a statement rear wall in a cinema room or lounge.
- The Ultra Low Cost Light Grey Acoustic Wall Panel is a practical starting point for bedrooms and home offices on a tighter budget.
You can order an acoustic wall panel sample before committing to a full room, and if you’re unsure how many panels your space needs, the team answers placement questions quickly over WhatsApp. Try the panel quantity calculator to work out your exact count, then order samples to check the finish in your own light.
Sources
For the acoustic theory behind absorption and reflection, MIT’s course notes on room acoustics cover material absorption coefficients in detail. For sizing and general panel layout ideas, see the 3D panel wall art placement guide and The Media Wall Store’s smoked walnut slat panel for a sizing comparison.
- Where to place acoustic panels: Best positions, room guide & placement tips – Walls and Floors
- Panel accent wall: design & install guide – D G Floors
FAQ
What is the best placement for acoustic panels?
The best placement targets first reflection points on the side walls, the ceiling above the listening area and the room’s corners for bass control. Panel centres should sit around ear height, between 1.2 and 1.8 metres from the floor, as recommended by Walls and Floors.
What is the 38% rule in room acoustics?
Definitions of specific percentage “rules” vary widely online, so it’s safer to size coverage to your room’s actual echo problem using the clap test.
What is the recommended spacing for acoustic panels?
Panels should have visible gaps between them rather than sitting edge to edge, since more exposed edge area improves absorption. Exact spacing depends on room size and the number of panels, but distributing them across reflection points beats clustering them tightly in one spot.
Should acoustic panels be vertical or horizontal?
Orientation matters less than exposure: a panel with more open edge absorbs better regardless of whether it’s mounted vertically or horizontally. Choose the orientation that best covers your identified reflection points and suits the room’s visual layout.
Recommended
Ready to compare products? Shop waterproof marble wall sheets Shop acoustic wall panels